Ingredients
Equipment
Method
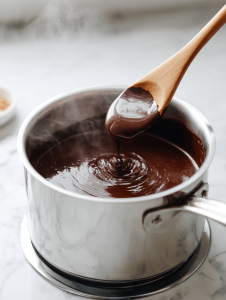
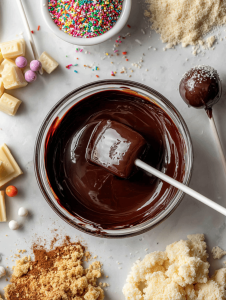
- Begin by melting your chocolate in a heatproof bowl set over a saucepan of simmering water, stirring until smooth and glossy. This creates a shiny, crackle-ready coating.
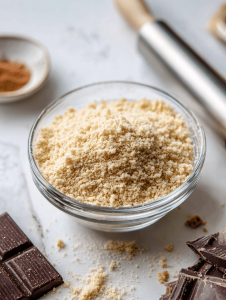
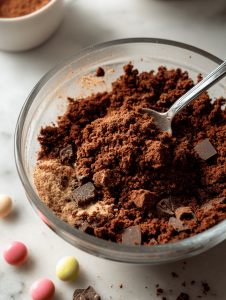
- Crush your cookies into fine crumbs using a rolling pin or food processor, then transfer to a mixing bowl.
- Add softened cream cheese to the cookie crumbs and mix until fully combined, forming a sticky dough with a rich aroma and cohesive texture.
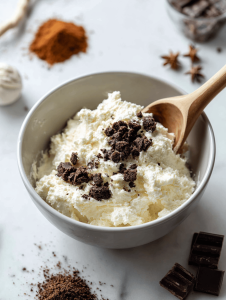
- Stir in cinnamon, nutmeg, and smoked paprika to the dough, evenly distributing the warm, spicy aroma throughout.
- Use a small scoop or your hands to form the dough into small, tight balls about the size of a walnut, placing each on a parchment-lined baking sheet.
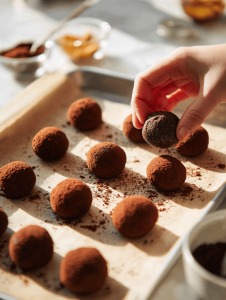
- Insert a cake pop stick into each ball, then chill the assembled cake pops in the fridge for at least 30 minutes to firm up.
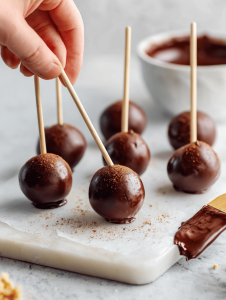
- Once chilled, dip each cake pop into the melted chocolate, swirling gently to coat evenly and remove any excess coating.

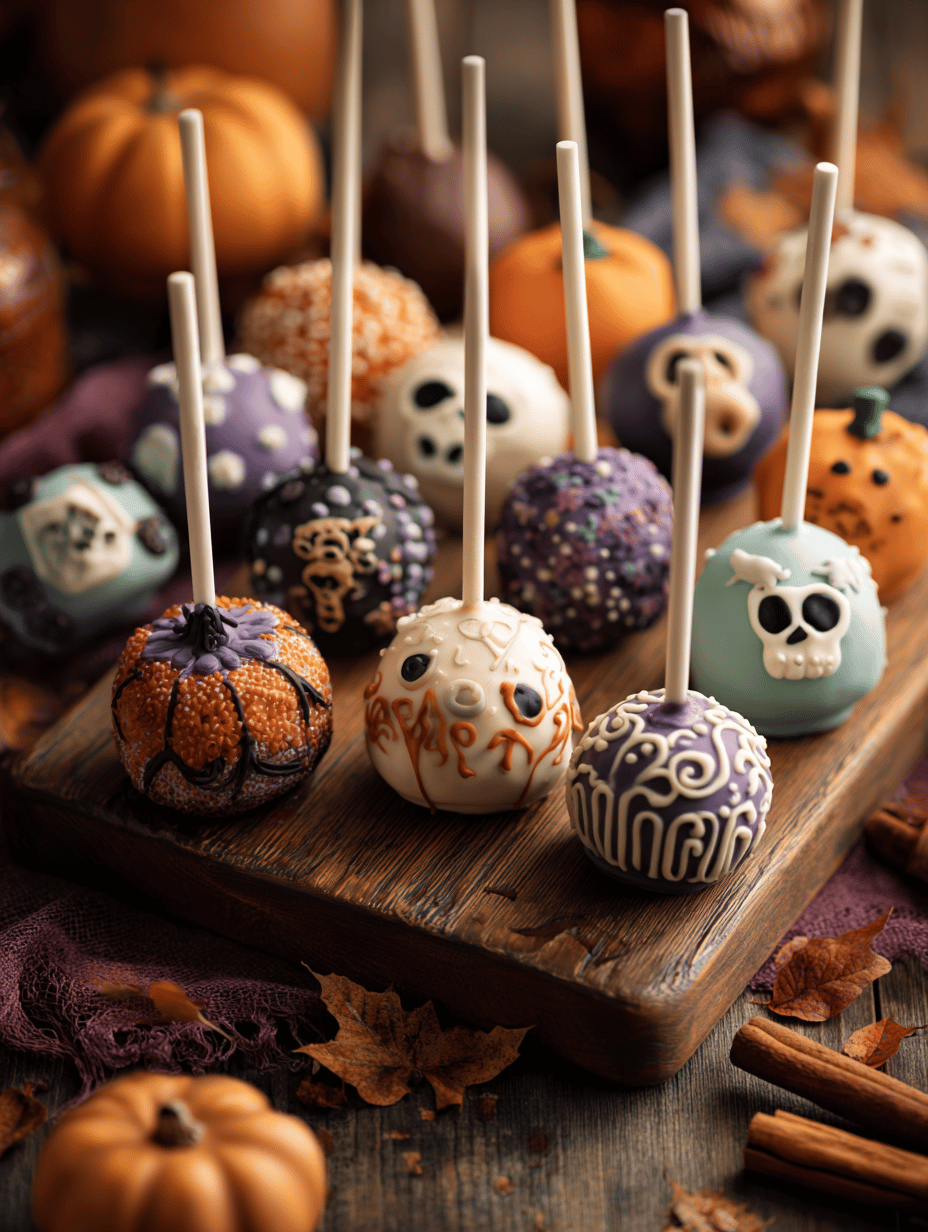
- Place the coated cake pops on parchment paper and decorate with candies or edible markers to create spooky faces, webs, or pumpkins.

- Allow the chocolate coating to set completely at room temperature or in the fridge for quicker results.
- Once the coating is firm and shiny, your spooky Halloween cake pops are ready to serve and enjoy!

Notes
Keep the cake pops refrigerated until ready to serve to maintain their shape and freshness. Feel free to get creative with decorations—think spider webs, jack-o'-lanterns, or tiny ghosts!