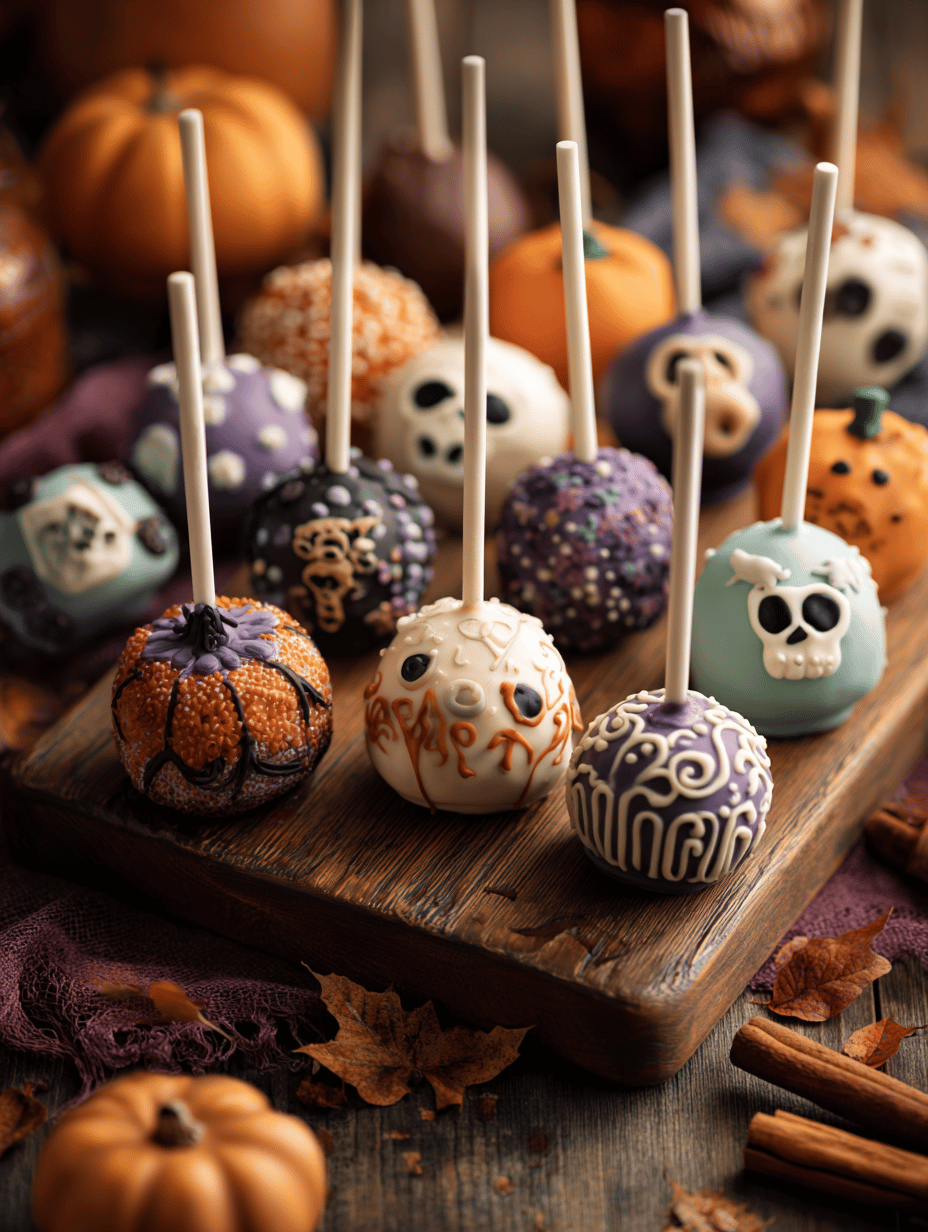
Halloween cake pops carry a quiet magic, turning simple ingredients into tiny, edible sculptures of spooky fun. They’re a perfect project for those who love a little chaos with their sweetness, and a chance to get a little creative. Plus, they’re easy to customize with flavors and decorations, making each batch uniquely yours.
This recipe focuses on a spicy twist, using cinnamon, nutmeg, and a hint of smoked paprika. It’s a way to elevate Halloween treats from cute to crave-worthy. As you get into the rhythm of melting, rolling, and decorating, you’ll find a kind of meditative joy in the messy process.
Why These Halloween Cake Pops Keep Calling Me Back
The spontaneous chaos of decorating, the childhood thrill of spooky shapes, and the sweet, smoky bite—these are more than treats. They’re a messy celebration of creativity, a quick fix for seasonal nostalgia, and a reminder that sometimes, imperfect is just right.
Inside the Ingredients: What Makes These Cake Pops Special
- Chocolate coating: Rich and glossy, it’s the perfect shell that crackles when you bite. Use good quality for that snap.
- Cream cheese: Softens the cookie crumbs, adding a tangy richness that balances sweetness.
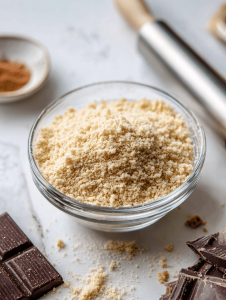
- Cookie crumbs: Gives texture and body. Oatmeal cookies work well, too, for a nuttier flavor.
- Spiced dough: Cinnamon, nutmeg, and smoked paprika create a cozy, smoky aroma that’s unexpected.
- Decorative toppings: Eyes, webs, or pumpkins—use candies, icing, or edible markers to bring your pops alive.
Tools and Tricks for the Perfect Spooky Bites
- Heatproof bowl: Melting chocolate smoothly over simmering water.
- Cookie cutter or small scoop: Shaping the dough into uniform balls.
- Cake pop sticks: Creating handles for easy dipping and decorating.
- Parchment paper: Preventing sticking and easy cleanup.
Crafting Tiny Spook-Delights: Step-by-Step
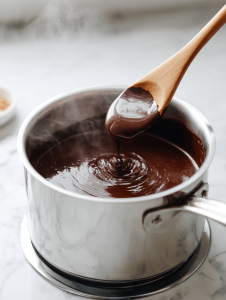
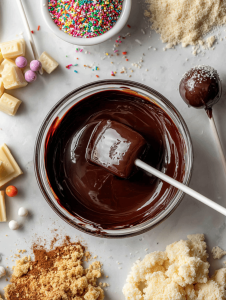
Step 1: Start by melting your chocolate in a heatproof bowl over simmering water, stirring until smooth and glossy.
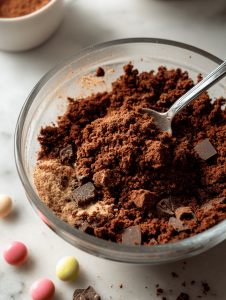
Step 2: Crush your cookies into fine crumbs, then mix with softened cream cheese until you get a dough that holds together.
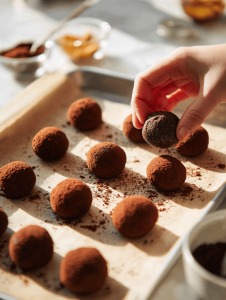
Step 3: Scoop out small portions of the dough and roll into tight balls, about the size of a walnut.
Step 4: Insert a stick into each ball, then chill in the fridge for at least 30 minutes, so they firm up.
Key Tips to Perfect Your Halloween Cake Pops
- Ensure the cake balls are well chilled before dipping to prevent cracking.
- Dip the sticks in chocolate first to help them stay secure in the cake balls.
- Watch the chocolate temp: too hot, it’ll run off; too cool, it won’t coat smoothly.
- Add a tiny drop of vegetable oil to the chocolate if it’s too thick or starts to seize.
Common Halloween Cake Pop Fumbles and How to Fix Them
- Chocolate becomes grainy or thick.? If the chocolate seizes, add a teaspoon of vegetable oil and stir until smooth.
- Sticks break or don’t stay in.? Warm the stick slightly before inserting to prevent cracking the cake ball.
- Cake balls crack or fall apart when dipped.? Chill your cake balls longer if they crack during dipping.
- Chocolate coating is runny or uneven.? If the coating is too thin, add more melted chocolate and let it cool slightly.
Spiced Halloween Cake Pops
Ingredients
Equipment
Method
- Begin by melting your chocolate in a heatproof bowl set over a saucepan of simmering water, stirring until smooth and glossy. This creates a shiny, crackle-ready coating.
- Crush your cookies into fine crumbs using a rolling pin or food processor, then transfer to a mixing bowl.
- Add softened cream cheese to the cookie crumbs and mix until fully combined, forming a sticky dough with a rich aroma and cohesive texture.
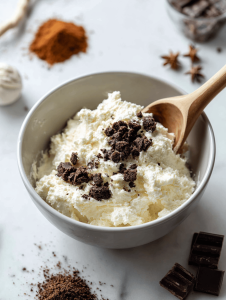
- Stir in cinnamon, nutmeg, and smoked paprika to the dough, evenly distributing the warm, spicy aroma throughout.
- Use a small scoop or your hands to form the dough into small, tight balls about the size of a walnut, placing each on a parchment-lined baking sheet.
- Insert a cake pop stick into each ball, then chill the assembled cake pops in the fridge for at least 30 minutes to firm up.
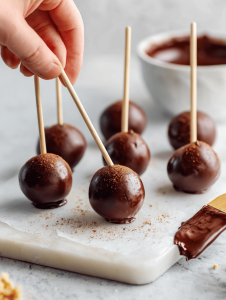
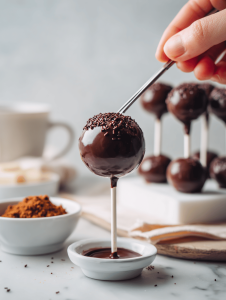
- Once chilled, dip each cake pop into the melted chocolate, swirling gently to coat evenly and remove any excess coating.

- Place the coated cake pops on parchment paper and decorate with candies or edible markers to create spooky faces, webs, or pumpkins.

- Allow the chocolate coating to set completely at room temperature or in the fridge for quicker results.
- Once the coating is firm and shiny, your spooky Halloween cake pops are ready to serve and enjoy!
Notes

Hi, I’m Hannah Reynolds, the heart behind Seasoning Therapist. I believe food can comfort, restore, and gently reset us after a long day. I started Seasoning Therapist with one simple idea in mind: cooking is not just about feeding the body, it is about caring for the mind too. The right seasoning can change the mood of a dish, and sometimes even the mood of the person eating it. This blog is where I combine my love for thoughtful cooking with my belief that the kitchen can be a place of healing.
